The RR501 can be used with a number of radio controllers, e.g. the "keychain remote", a mini 2-device controller, or a number of multifunction infrared and radio remote controls (to control your TV set and lights from the same remote), or the extremely nifty wall switch that, with a thickness of only about 5mm, looks like it's built into the wall but it can be sticked anywhere without holes or wires.
Converting the built-in appliance module to 230V was too much of a hassle (I'd have to find a relay with the correct form factor), so I just disabled it.
I did the conversion following the instructions at redoak.co.uk. All photos can be enlarged by clicking on them.
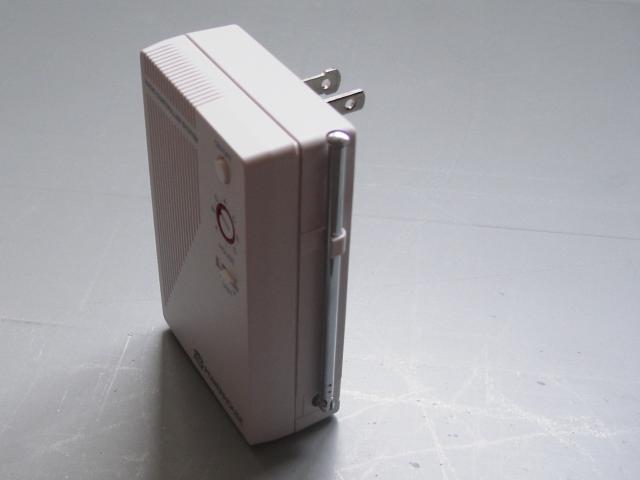
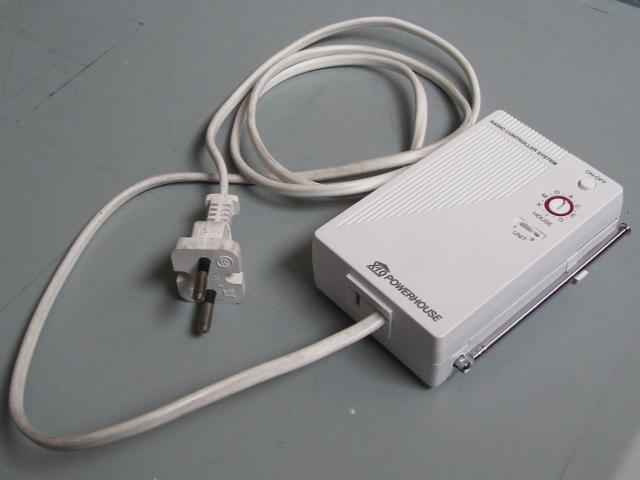
This is what the module looks like in its pristine state:
|
|
|
|
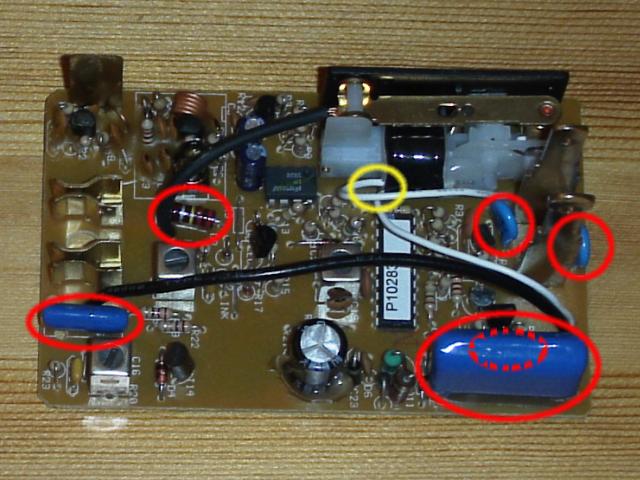
| left: original module | right: things to be changed |
|
Since all resistors where 0.5W types already, I only had to exchange six
components: Two capacitors, two MOVs, and two resistors.
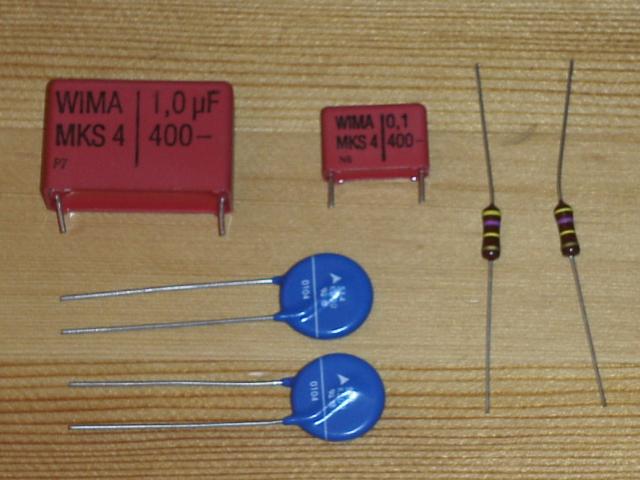
I bought these parts at a local electronics store:
|
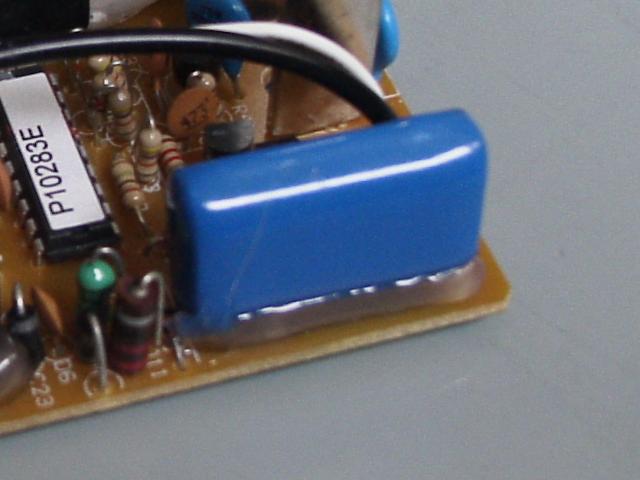
Here's a detail photo of each replacement I made. Of course, I first removed all the old parts and then but in the new ones.
|
|
|
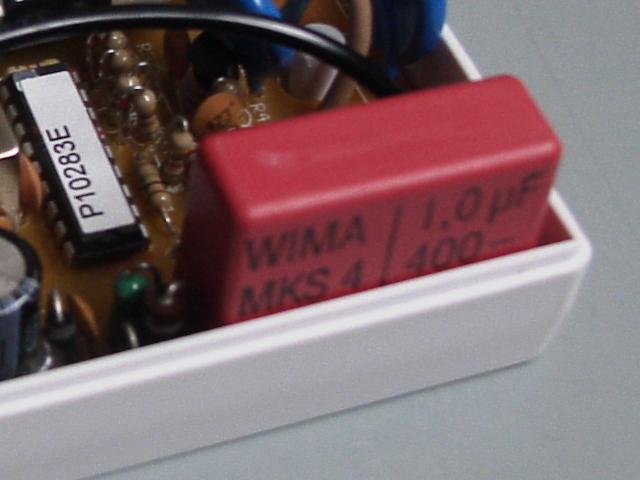
| left: 2.2µ/250V capacitor (old) | right: 1µ/400V capacitor (new) |
|
|
|
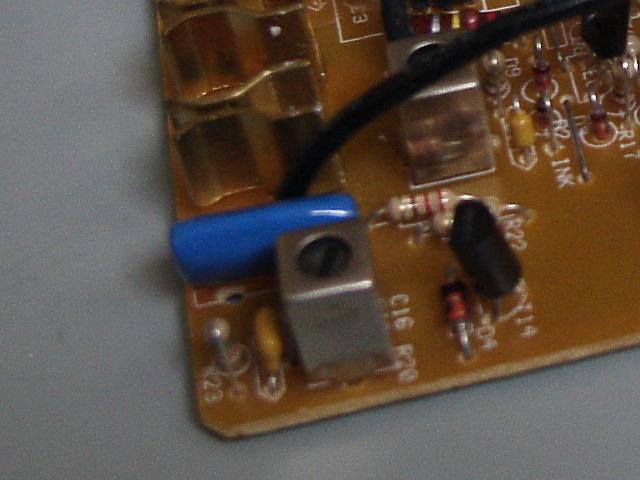
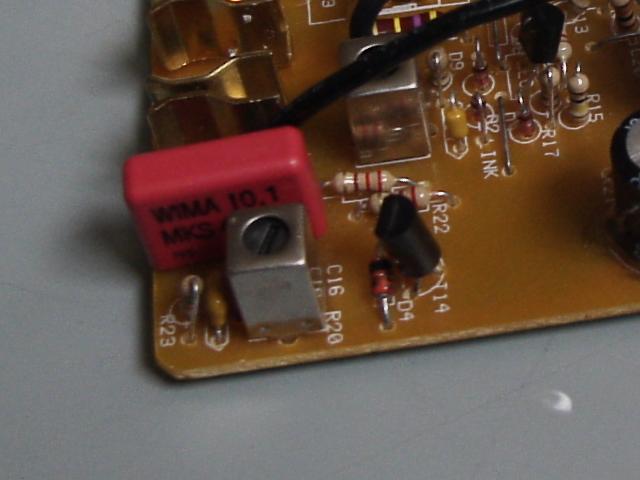
| left: 0.22/250V capacitor (old) | right: 0.1/400V capacitor (new) |

|
|
|
| left: 220k resistor (old) | right: 470k resistor (new) |
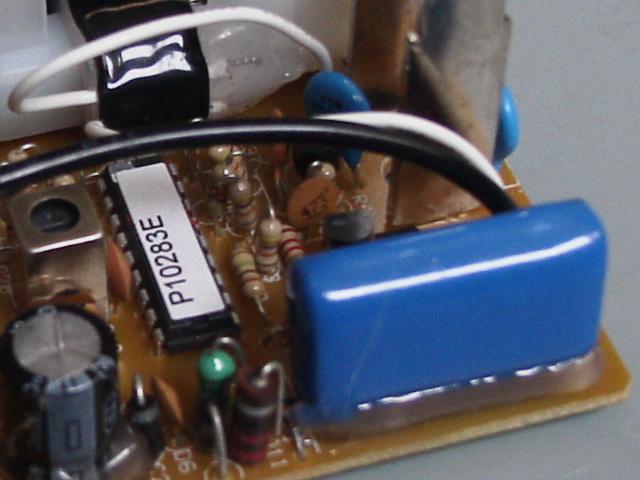
|
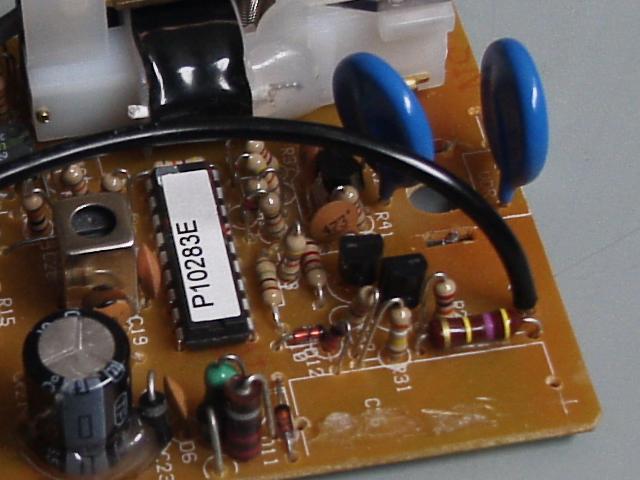
|
|
| left: invisible 220k resistor and old varistors | right: 470k resistor and new varistors |
|
|
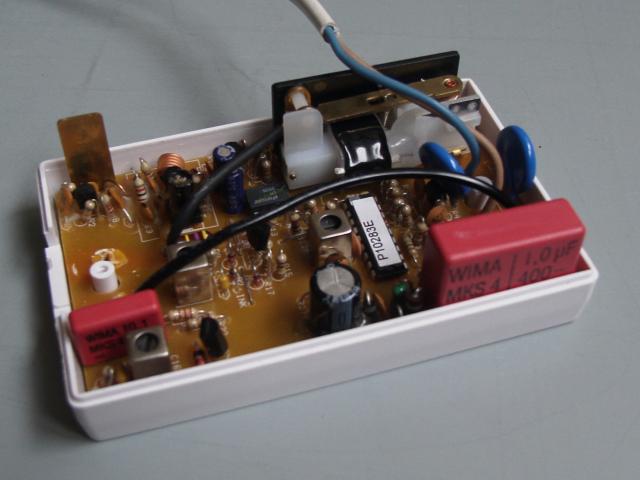
|
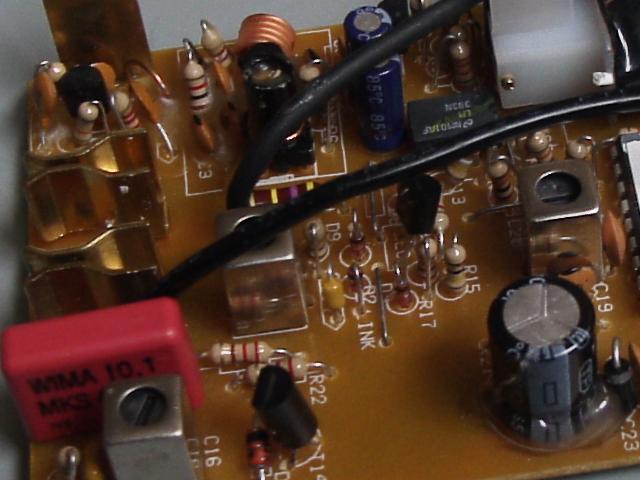
| left: finished module, open) | right: finished module in original case |
The modification was an immediate success. As I've said before, I did not bother converting the built-in appliance module, which also made wiring easier. Apart from the "House Code" selection wheel, the panel controls are now useless.
Try this at your own risk.